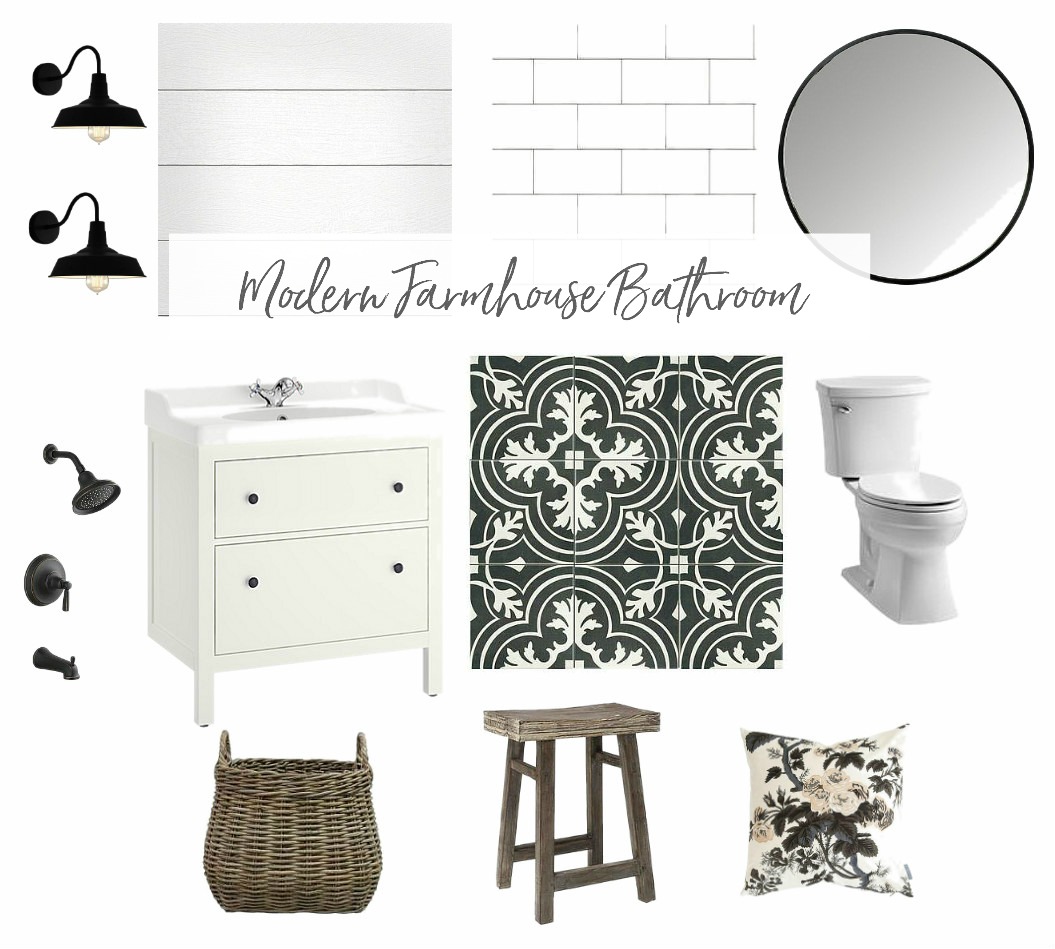
Welcome back to the One Room Challenge Fall 2017 week 5, it’s time to get our shiplap on!
If you’re new here, hello! You can follow along with the previous One Room Challenge weeks here:
Week 1 | Week 2 | Week 3 | Week 4 |
You can also follow along with all the other bloggers and designers and see what there up to this week here.
One Room Challenge Fall 2017 Week 5 Shiplap Time!
(This post has been sponsored by Metrie, all thoughts and opinions are my own)
This week we had some help from Metrie who offered their gorgeous Metrie Complete® Shiplap for our Modern Farmhouse Bathroom Makeover. The shiplap comes already primed and painted in “Polar White” which is a beautiful crisp white and you know I love me some white 😉
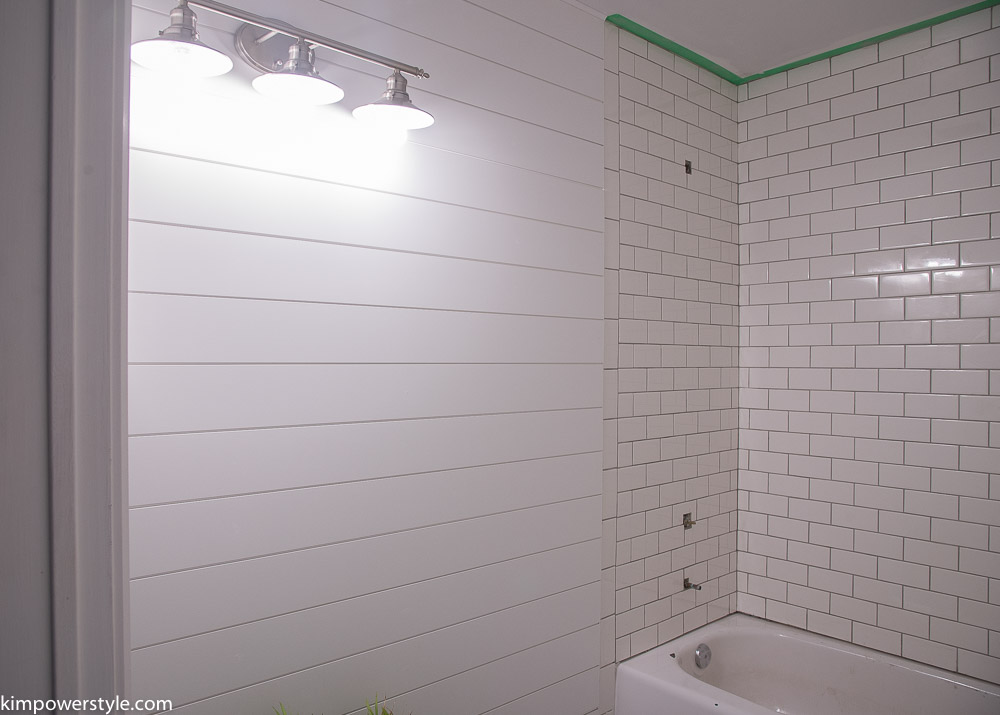
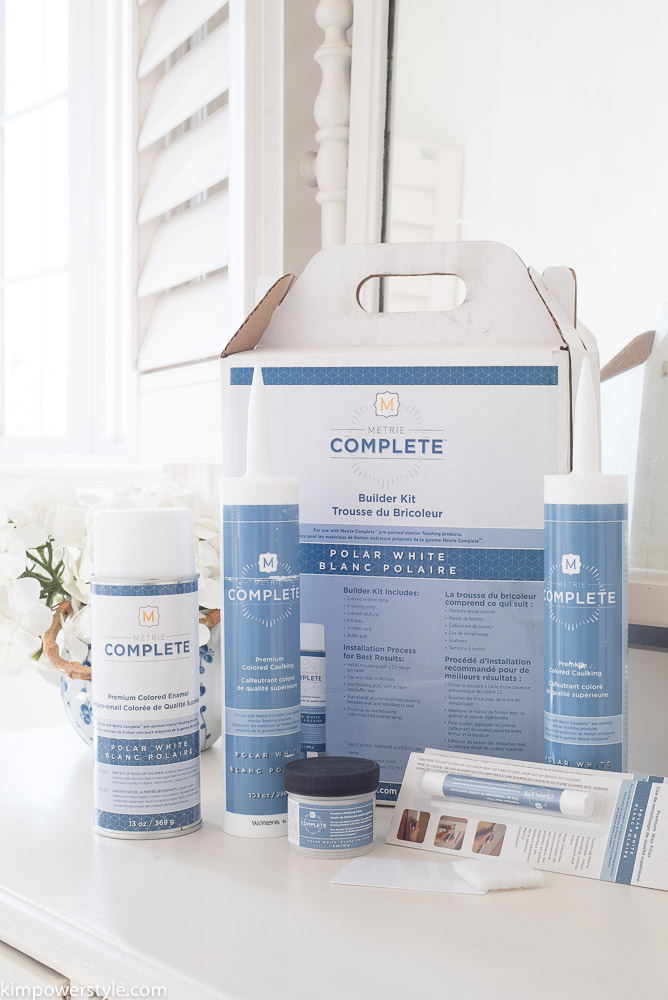
I have to say this was one of the easier projects for this challenge! We’ve applied shiplap before using thin plywood boards and made our own spaces using coins. With the tongue and groove feature on these shiplap boards there was no more watching our quarters and loonies rolling away on the floor! It was simpler to lay the boards and it looked so much more uniform. The fact that the boards are all pre-painted a beautiful satin finish also saved a lot of time. Instead of filling nail holes with wood filler, sanding then priming and painting, you fill in the holes with a wax and then buff. Metrie offers a Metrie Complete finishing kit with everything you need to finish your project:
How We Did it and What You’ll Need:
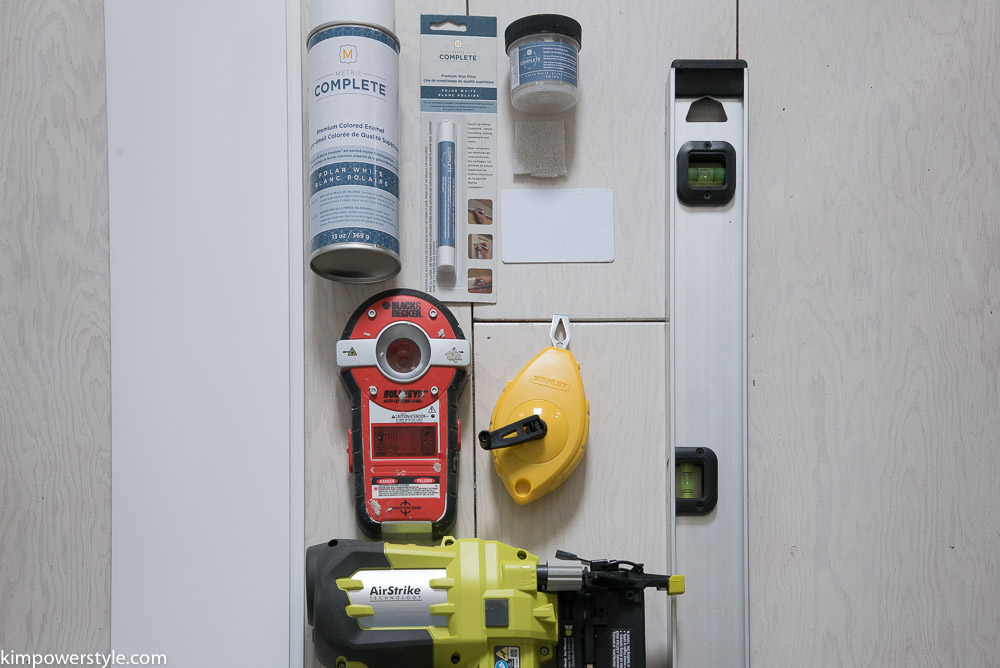
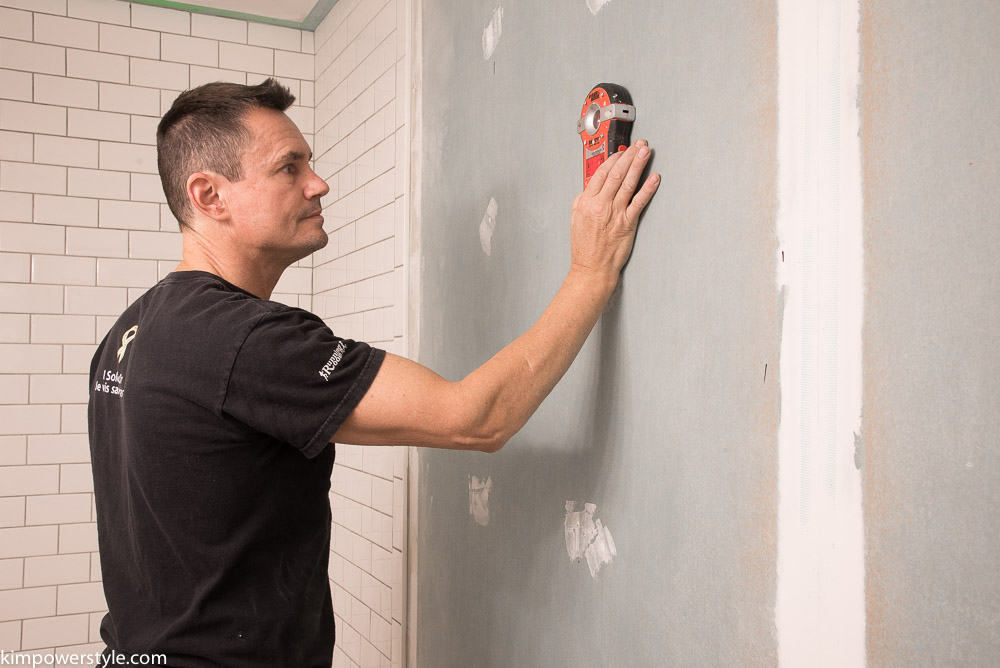
- Find the studs in your wall with a stud finder.
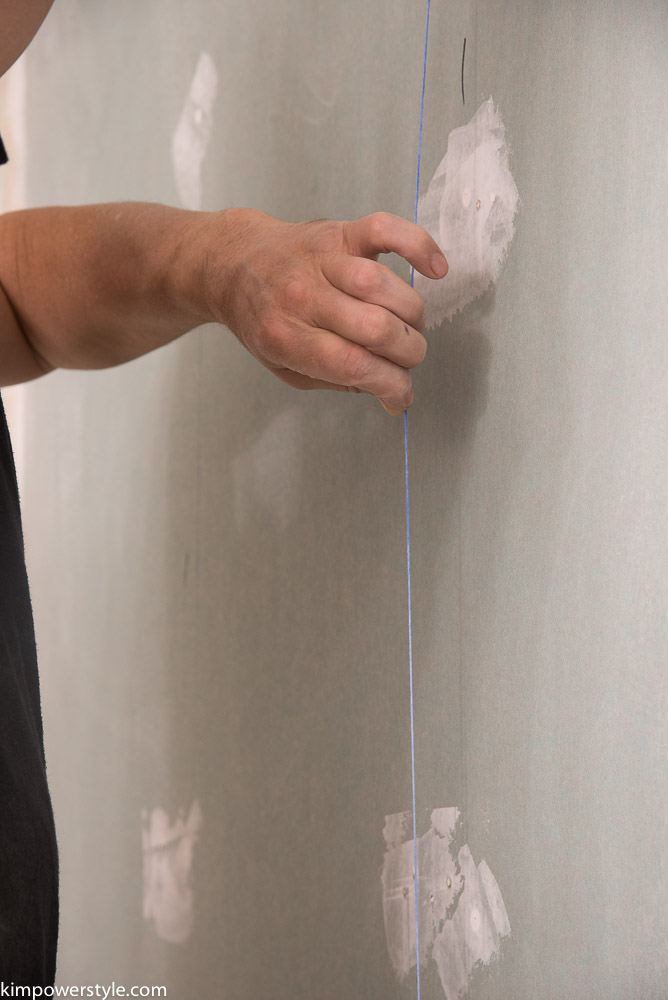
2. Mark the studs and then use a chalk line or a level to mark them down the wall.
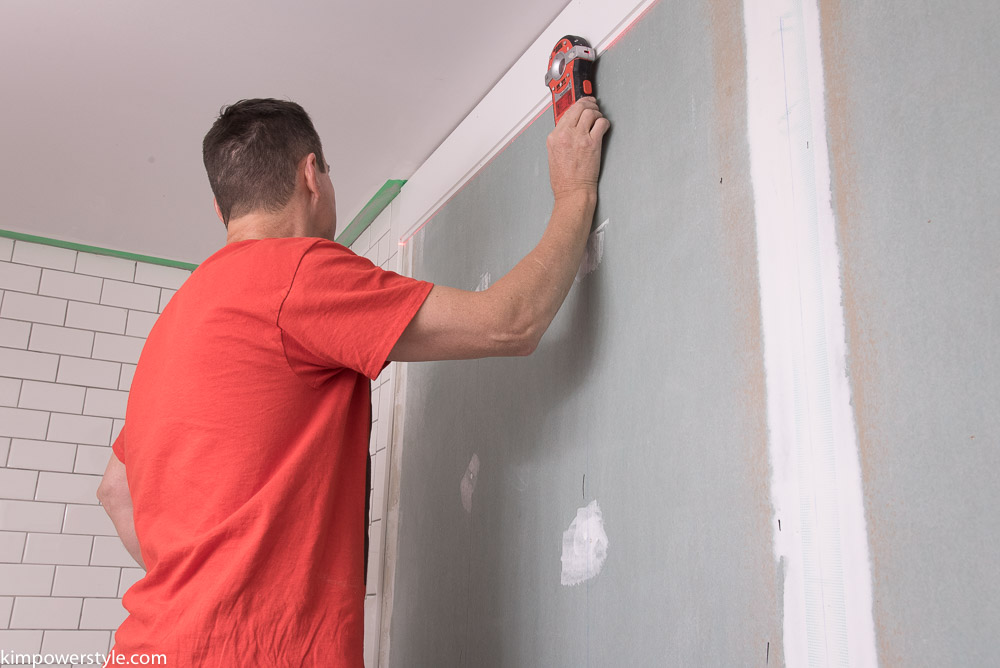
3. Some people start from the bottom, but I like to have full boards around the ceiling line. Place your first board with tongue side down and use a level to make sure your first board is level.
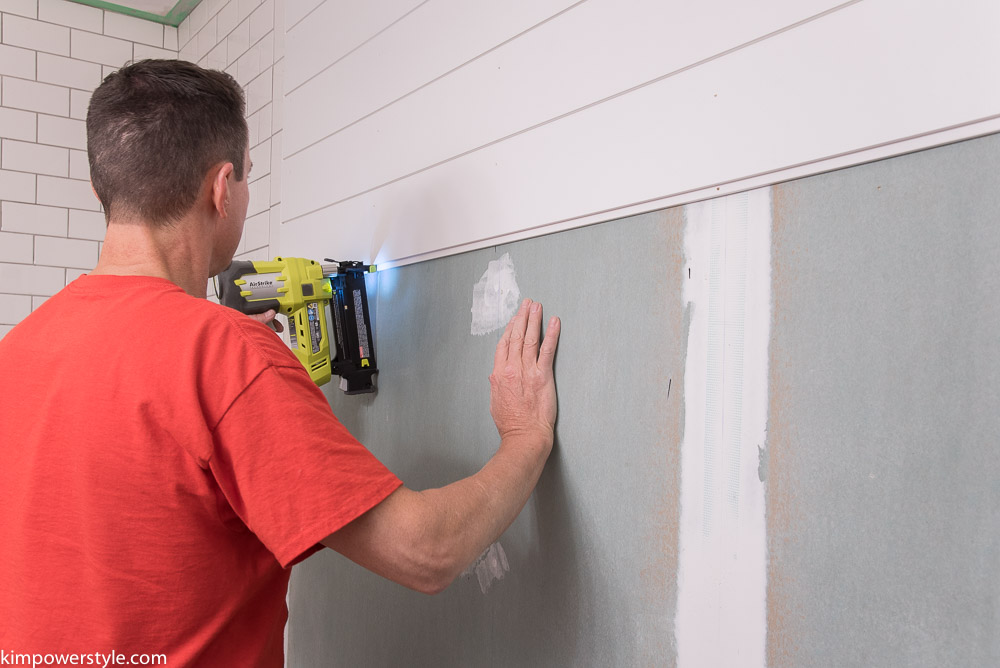
4. Add your boards and nail them using your nail gun. Where you nail into the tongue, you’ll need to fill in your nail hole before you place your next board. It’s much easier filling those holes before you add the next board. (Don’t ask me how I know!)
5. To fill in your holes, use your wax stick or putty jar. I mostly used the wax stick.
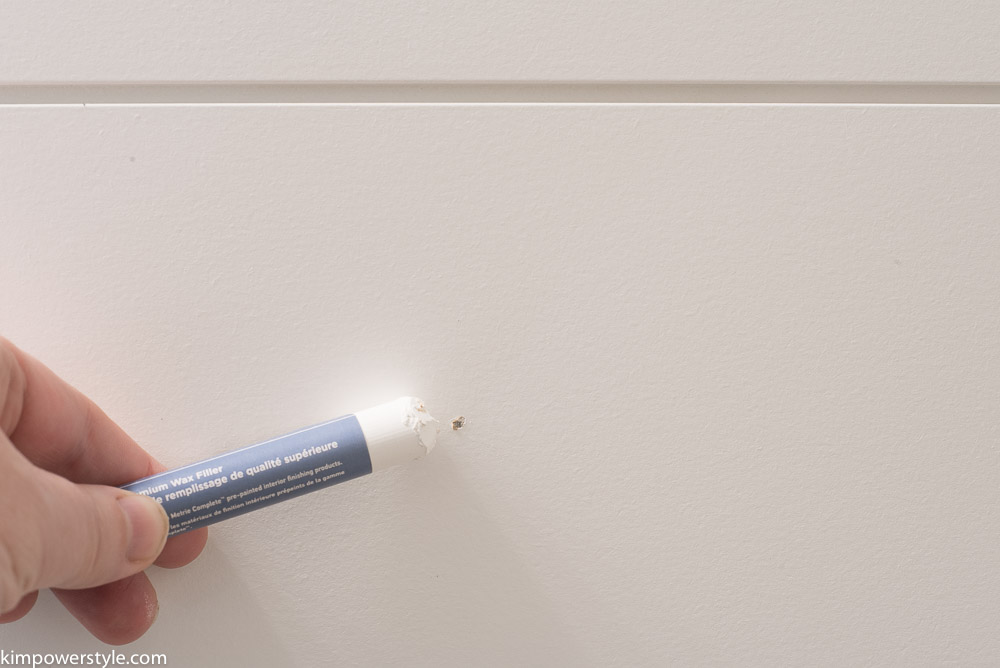
6. You can use your scraper card or a putty knife to remove any excess wax.
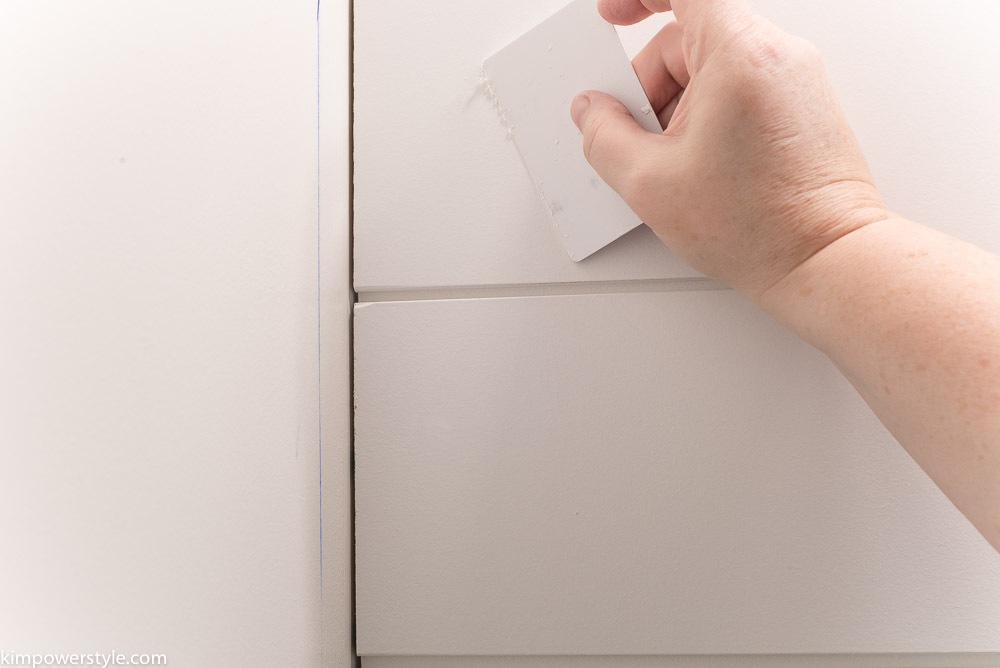
7. Use the abrasion pad to buff out and smooth the area.
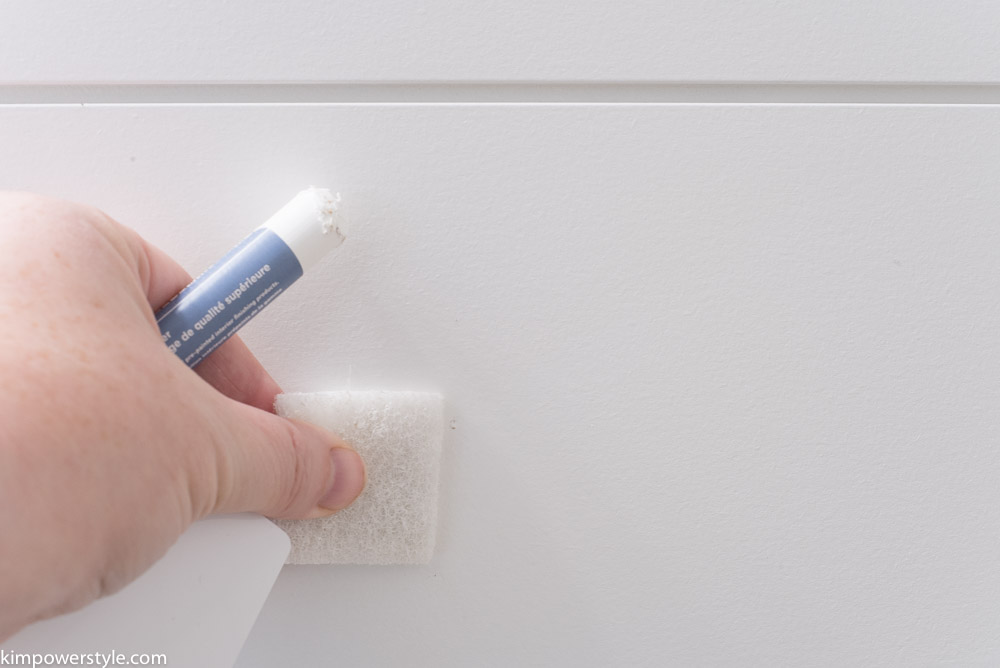
8. We applied cove molding to the ceiling and in the corners to make the seams uniform. we also caulked with Metrie’s caulking. All the products in the Builder finishing kit comes in the same “polar white” colour as the shiplap so that everything matches.
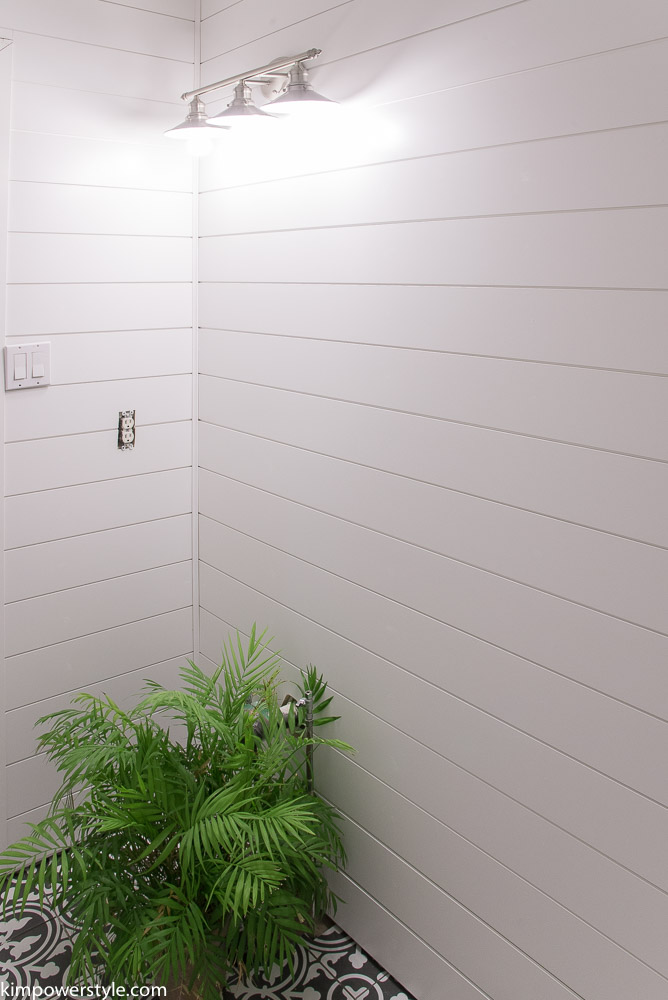
Yes that’s my famous camouflage plant! I’m using it to hide those unsightly pipes sticking out of the floor.
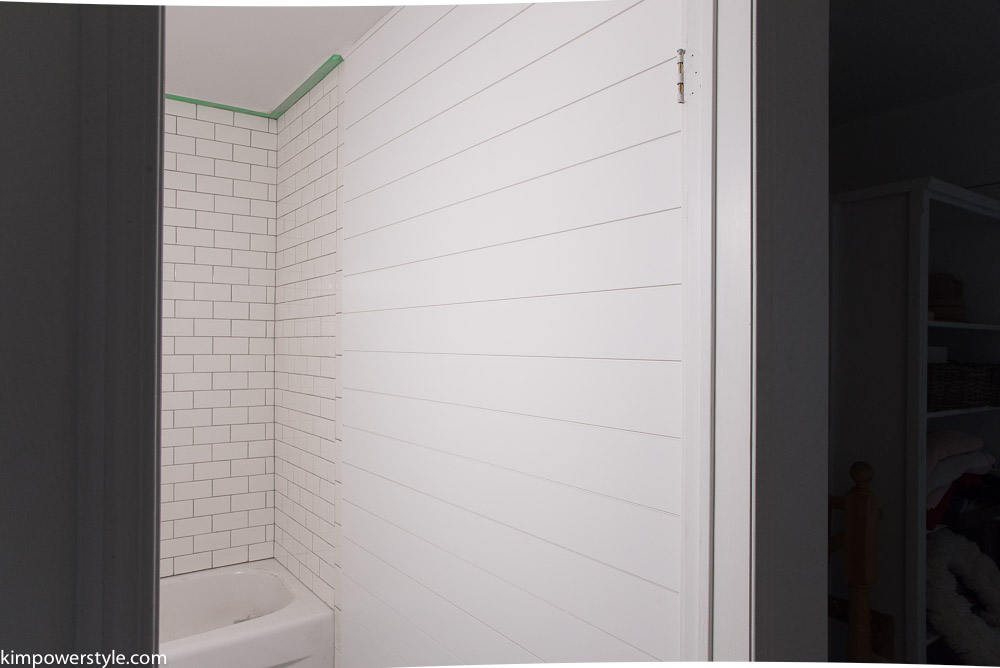
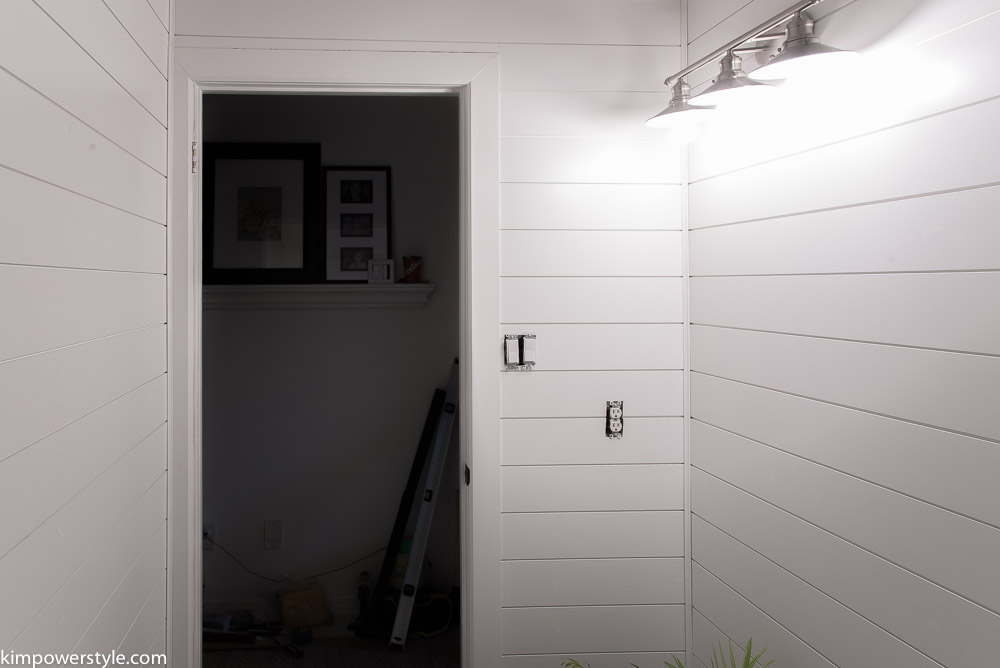
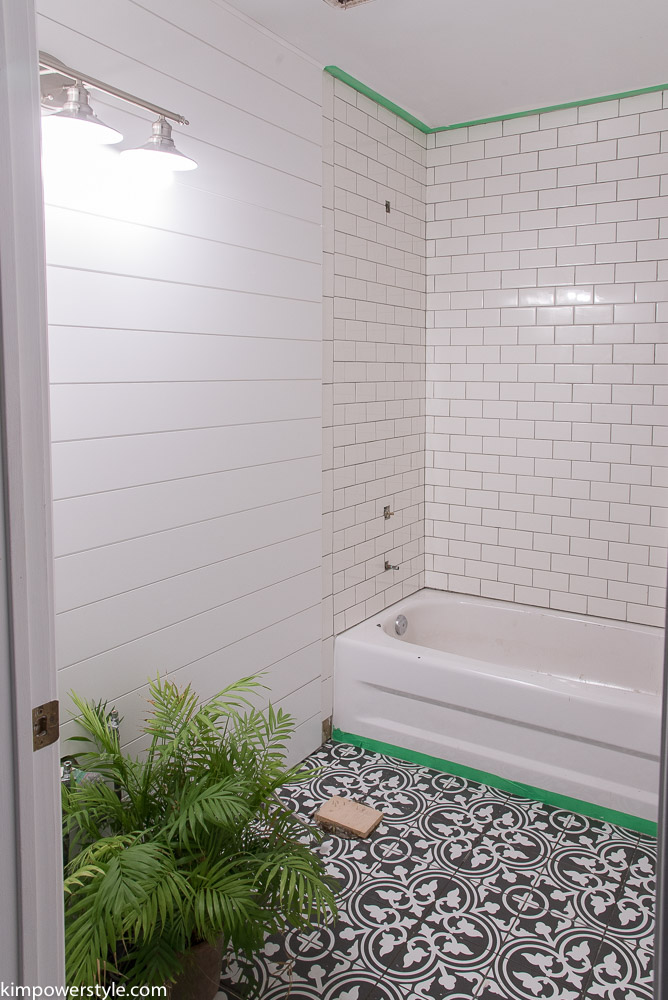
There is still a lot to do. I’m so grateful for the added week!
- We still need to grout the floor tile.
- Once the floor tile is grouted we’ll be able to put on the last two pieces of subway tile near the floor.
- Add the baseboards.
- Finish the caulking
- Clean up the ceiling
- Put the ceiling fan back on. (Still not sure why that is off lol!)
- Put the vanity together and pray it fits!
- Bring the toilet back in.
- Hang the mirror.
- Install the taps and hardware.
Thanks so much for joining along on our makeover/reno challenge! Just a reminder that a week has been added onto our schedule, so the final reveal will be on November 16th. To see some more makeover/renos you can follow along with all the other bloggers and designers here.
Blessings,
Kim
Thanks to our sponsors.

