Hey everyone! It’s week 3 of the One Room Challenge and it’s been a doozy. There may have been the odd swear word, some wringing of hands along with some tears (all me)! I’ve watched enough home renovation shows to know that a renovation rarely goes smoothly. Well we were no exception…
One Room Challenge Fall 2017 Week 3 Reno Challenges
Let’s do a brief recap of Week 2 the demo week..
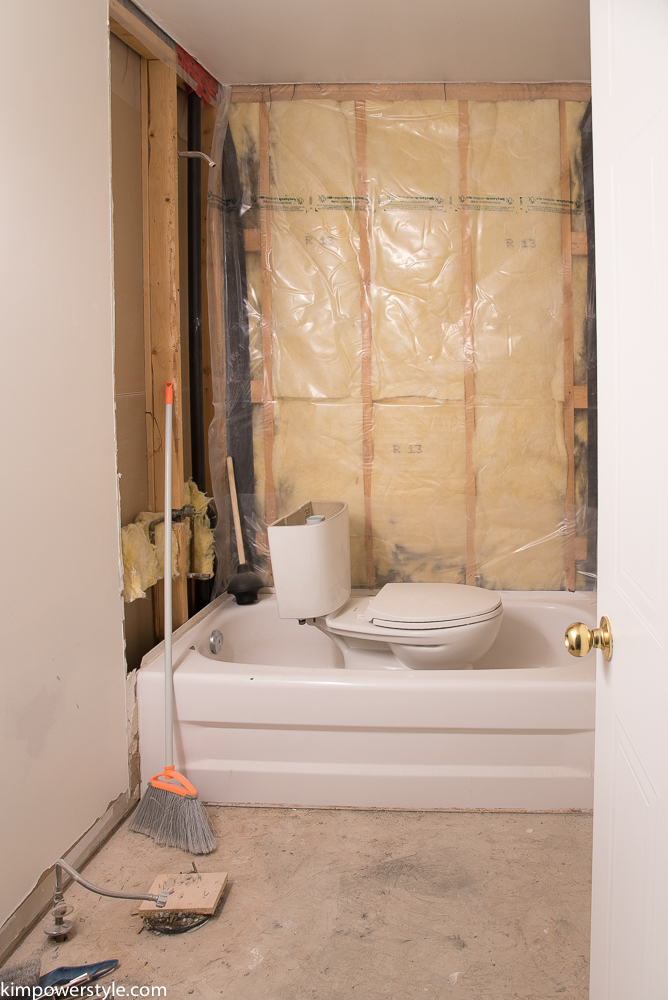
We spent an entire week and removed everything except the drywall on the bathroom walls. (Not sure why the plunger and toilet are in the tub! haha)
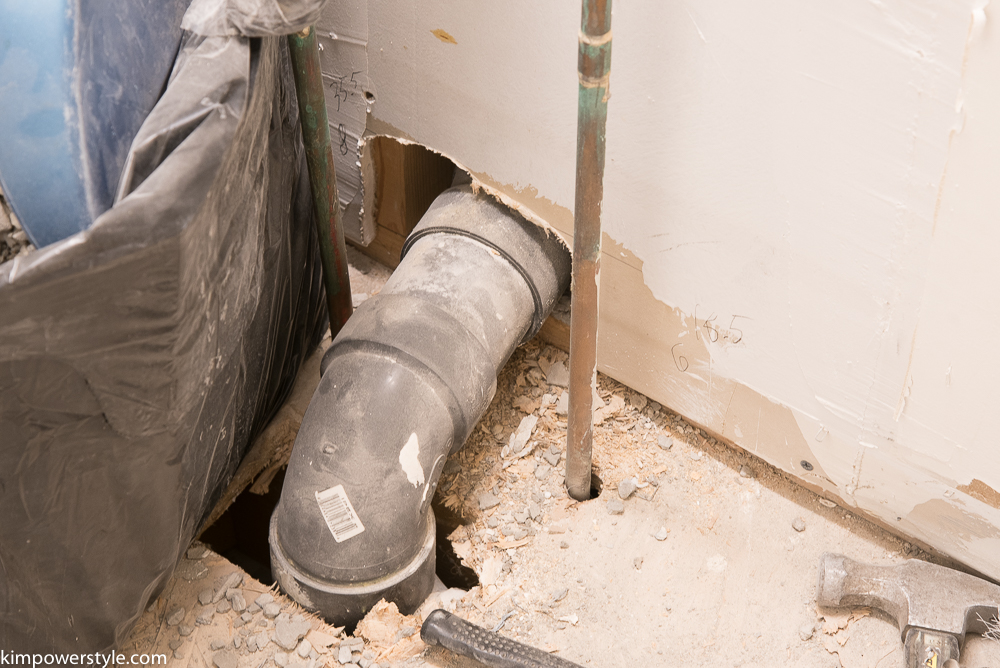
We found this large drainage pipe coming up out of the floor!
My meltdown and what we did this week..
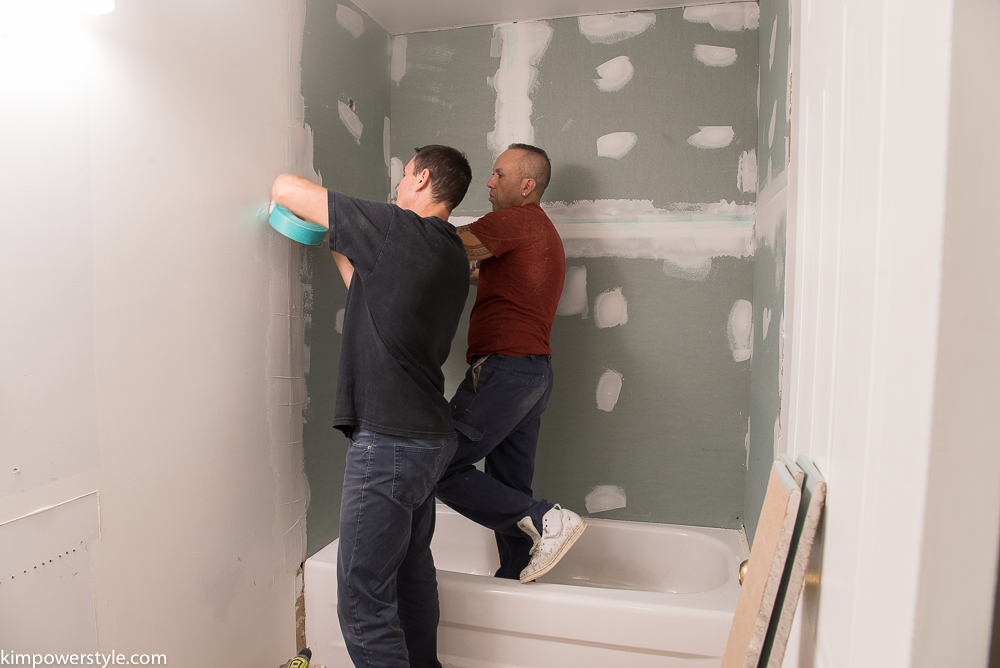
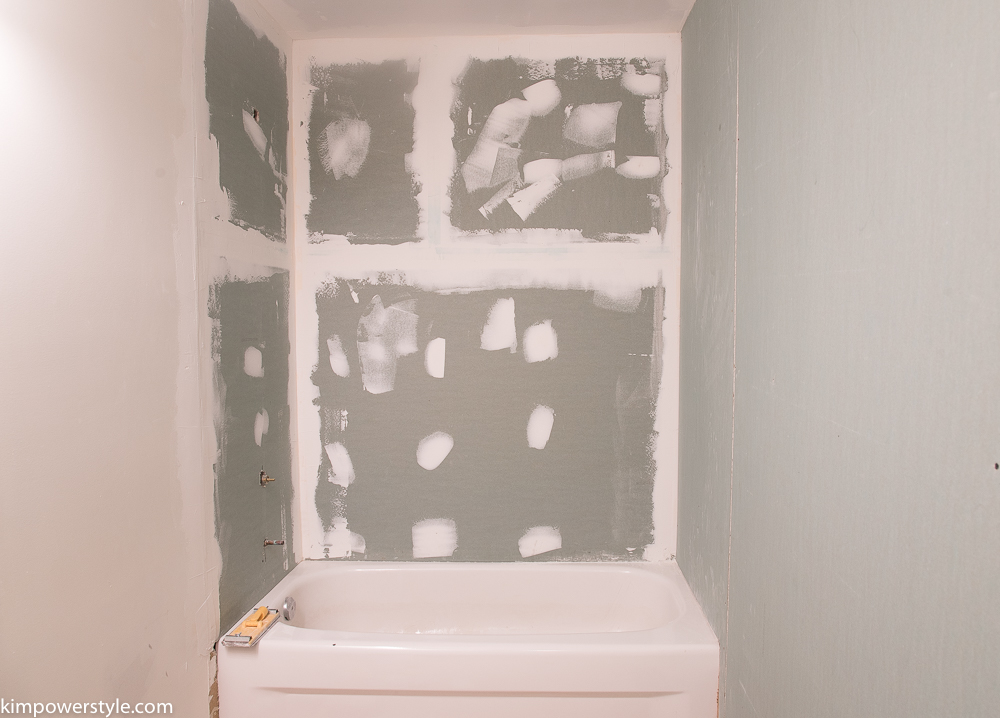
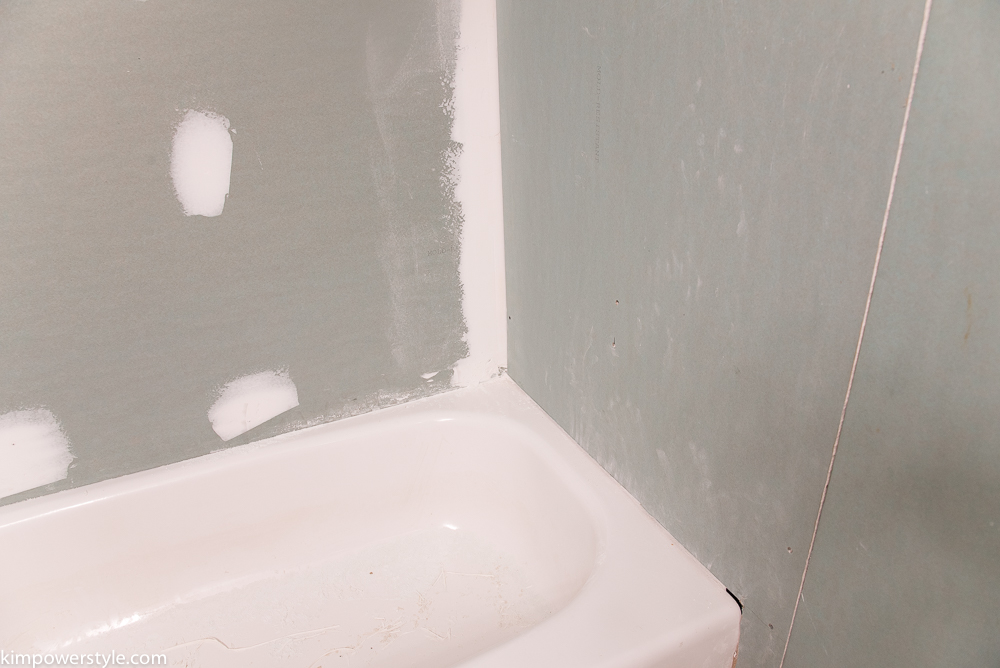
My husband removed the old insulation and replaced it. He and his friend then put up the drywall in the tub/shower surround. This is where it kinda went downhill. After the drywall was attached I went to inspect it and noticed that one of the drywall walls was sitting outside the tub lip. I’m not sure how the previous wall/tiles were placed but there was no way I was going to be able to apply tiles with a crooked wall!
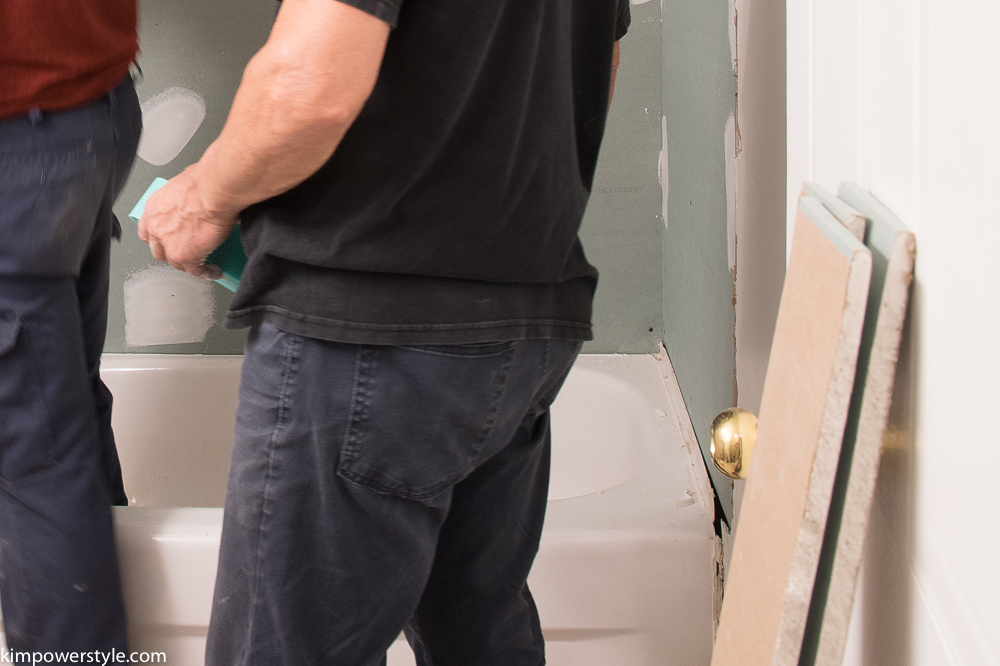
You can see the problem here.
We were at a loss as to what to do. We could take that piece down and put it over the lip, but then it wouldn’t match up with the other main wall. We would be fixing one problem but causing another. We were then told by 2 plumbers that the giant black pipe couldn’t be moved because of the joists and would have to stay. Yep, by this time I was having a bit of a meltdown. I put on my best Scarlett O’Hara impersonation and said “tomorrow is another day”. Our daughters came over for a visit and we took the weekend off and ignored the whole situation!
By Sunday I knew we had to address the problem and stop pretending that I hadn’t just demolished my whole bathroom! I was thinking that we could just call the whole thing off. Tell our sponsors how sorry we were. Maybe find a contractor that wasn’t booked up till next year and let him/her sort it out.
But then I pulled up my big girl pants and found an old friend to come over and take a look at the situation. He advised us to drywall over that wall again and continue along the length of the whole wall. So that’s what we did. We made our 145th trip to the Home Depot and picked up our supplies. We had the drywall hung and mudded by that evening. All the walls were flush!
I finally got my tiles and started tiling!
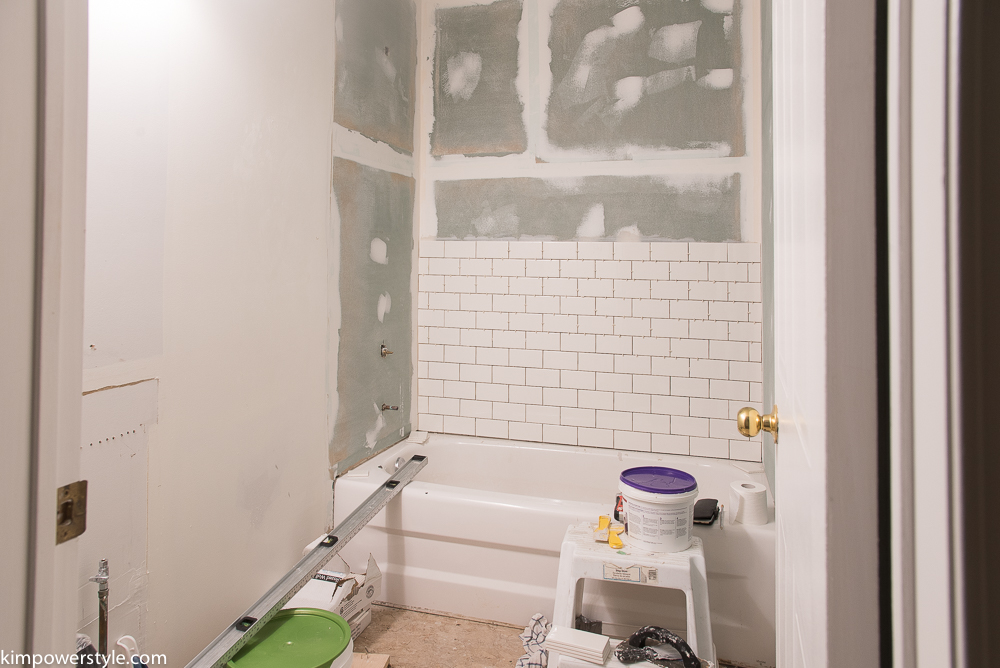
My bathtub is a little lower on one side so It took a bit of time to get everything level, but we’re on our way!
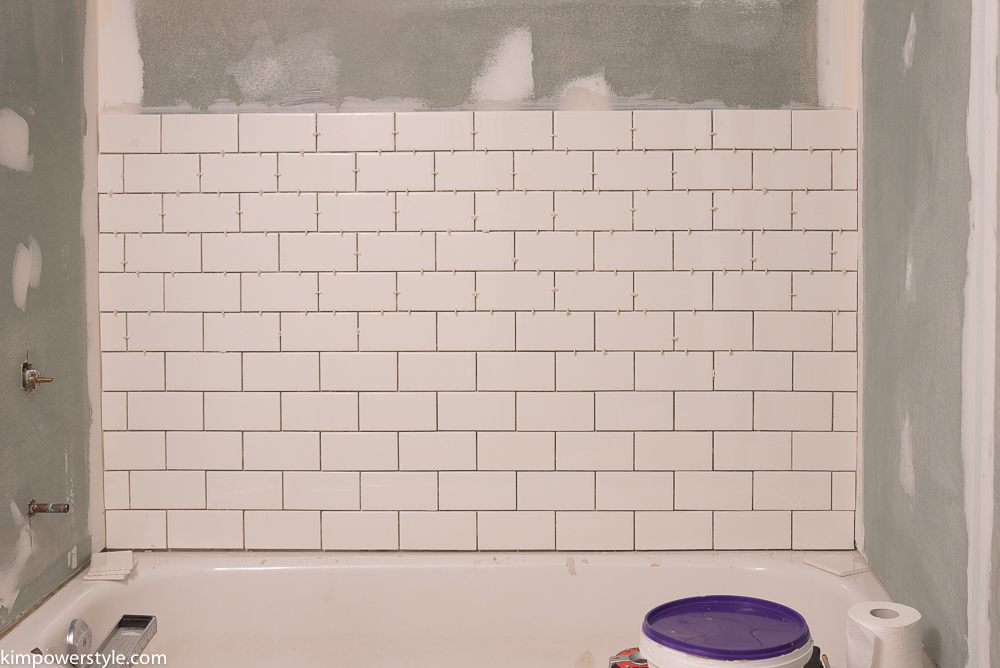
What we still have to do:
- Finish installing the tile on the tub/shower surround.
- Apply the Metrie Shiplap and finishing.
- Tile the floors.
- Install the vanity…and pray it fits!
- Install the taps, shower head etc.
- Add all the accessories.
In the middle of all the mess, it’s good to have your mood board in front of you. It let’s you know that there’s an end to the craziness and it’ll be beautiful!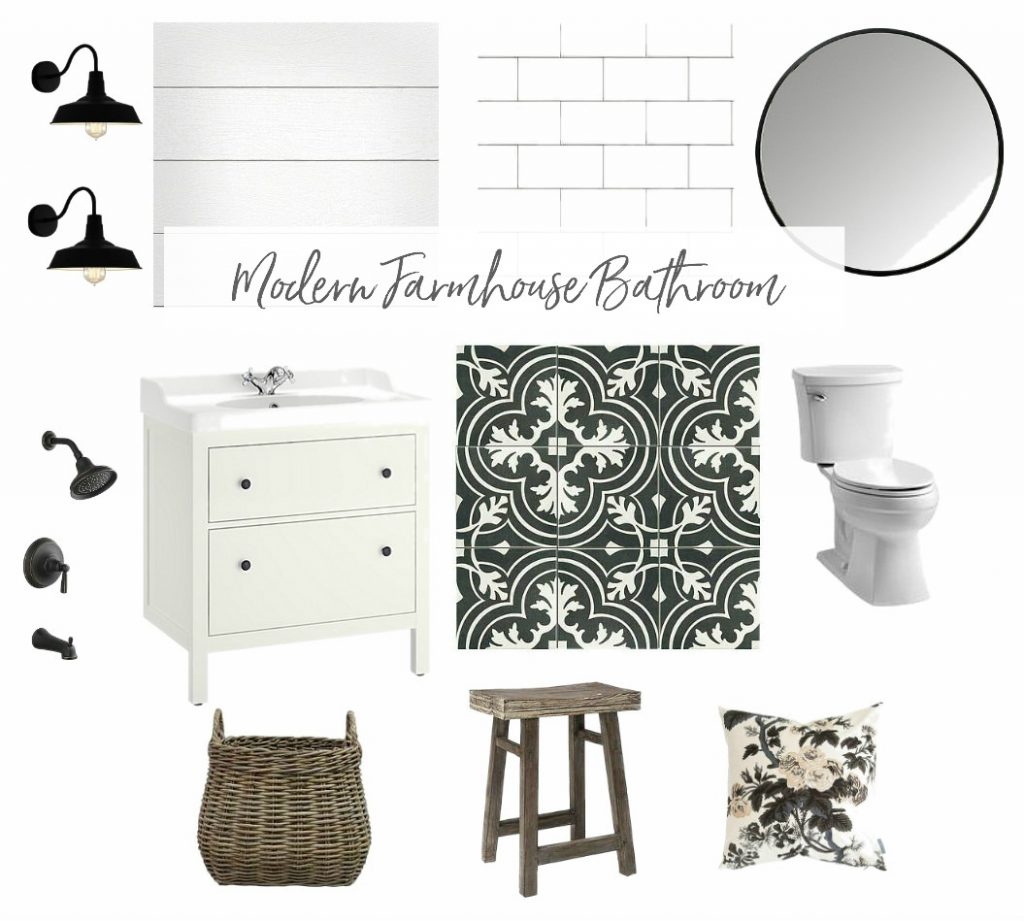
Having anything by Shea and her team for inspiration doesn’t hurt either. 😉 It also adds a little bit of pretty in these unpretty reno posts too!
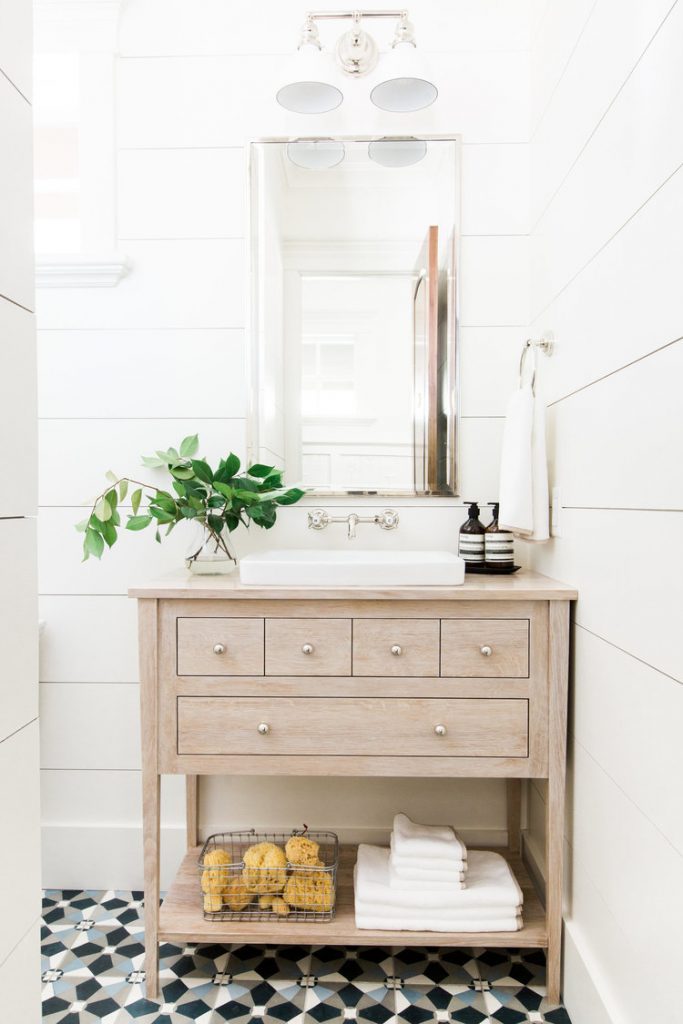
(source)
Special thanks to my sponsors who are helping to make this bathroom possible!

Thanks for checking in on the progress and hearing about my woes. You can follow along with me on Instagram as I share the day in and day out progress.
blessings,
Kim

wow great tip from your friend to resolve the issue with that plumbing! your tiles are looking classic and elegant … looking forward to week 4 when the shower is completed!
Thanks so much Tim, thank God for friends! I’m looking forward to this shower being completed too! 🙂
Ugh, my heart goes out to you! Definitely not something you want to have happen, especially in the middle of the ORC. That’s wonderful you were able to find a solution and the subway tiles looks FANTASTIC!
Best,
Kelly
Thanks Kelly! People have gone through much worse I’m sure. But when you’re on such a tight deadline and are not the most experienced, these things look so much bigger! I’m loving the tiles too! 🙂
It’s coming along. Your tile is looking really good. Inch by inch my friend, inch by inch and you’ll get there. 😉
Thanks Dannyelle, sometimes it literally is inch by inch as I place my tiles! Lol.
Wow! It’s really coming along and looking good so far. Week 3 and 4 have notoriously been the most difficult for me – hang in there!
Thanks so much Jen! Hoping for better weeks coming up! 🙂
There’s always surprises when renovating a space!! I’ve been there many times!!! Tile is looking good!!!
Aw thanks Mireille. I appreciate the encouragement! 🙂
Wow, I’m so glad there was a solution!! And a relatively easy one! Whew…this challenge can put you in meltdown city faster than you can say “Bob’s your uncle!” right?! You’re looking great though. 🙂 It’ll be worth it!
Thanks so much for the encouragement Laura. It sure can! 🙂