One Room Challenge | Week 2 | Board and Batten

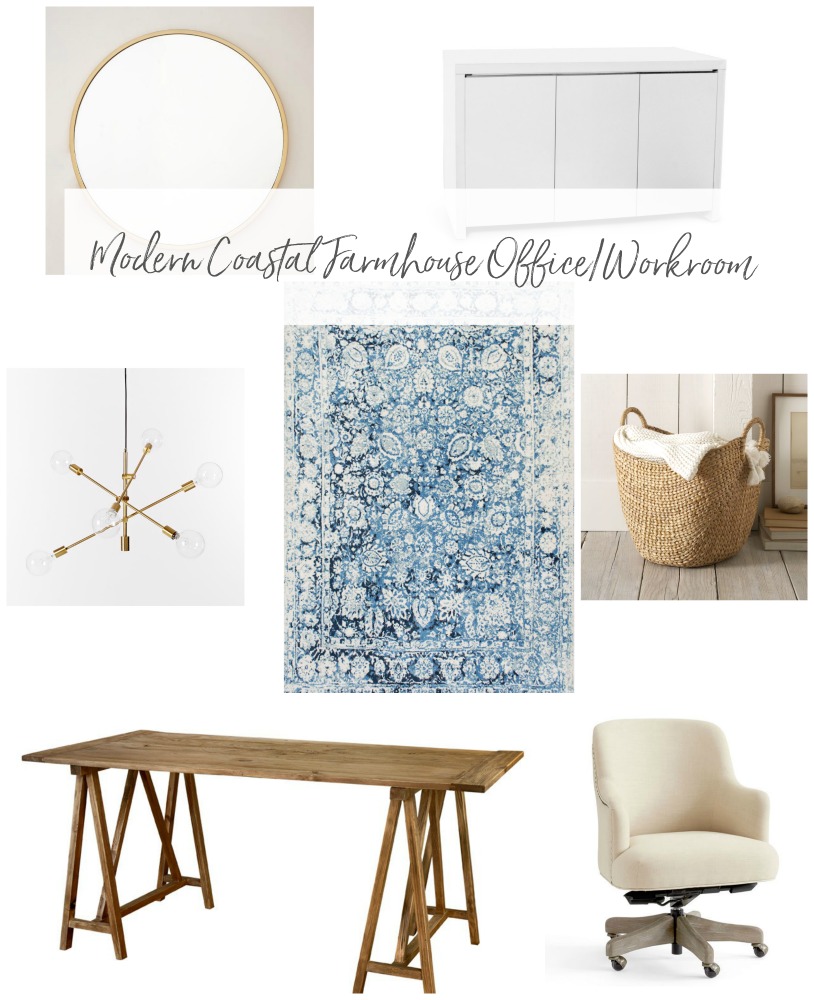
Welcome to week 2 of the 6 week One Room Challenge hosted by Linda of Calling it Home! Well, the madness has begun and I’ve dragged the hubby into it as well and we tackled the walls in our little…wait for it, it’s a mouthful…Modern Coastal Farmhouse Office/Workroom. Lol. This is the mood board I created to steer me in the direction I want to go with in this room:
If you remember in Week 1, I wasn’t exactly sure what kind of treatment I was going to apply to the walls. I knew I wanted it to have a coastal farmhouse vibe but done in a modern way. I love shiplap and have used it in a few rooms on the main floor, but I wanted to try something different this time. After searching through my Pinterest pins and other sites, I finally decided on board and batten. I thought it would add character and charm to my little room and to be honest, it looked like it required less work than I was used to with shiplap!
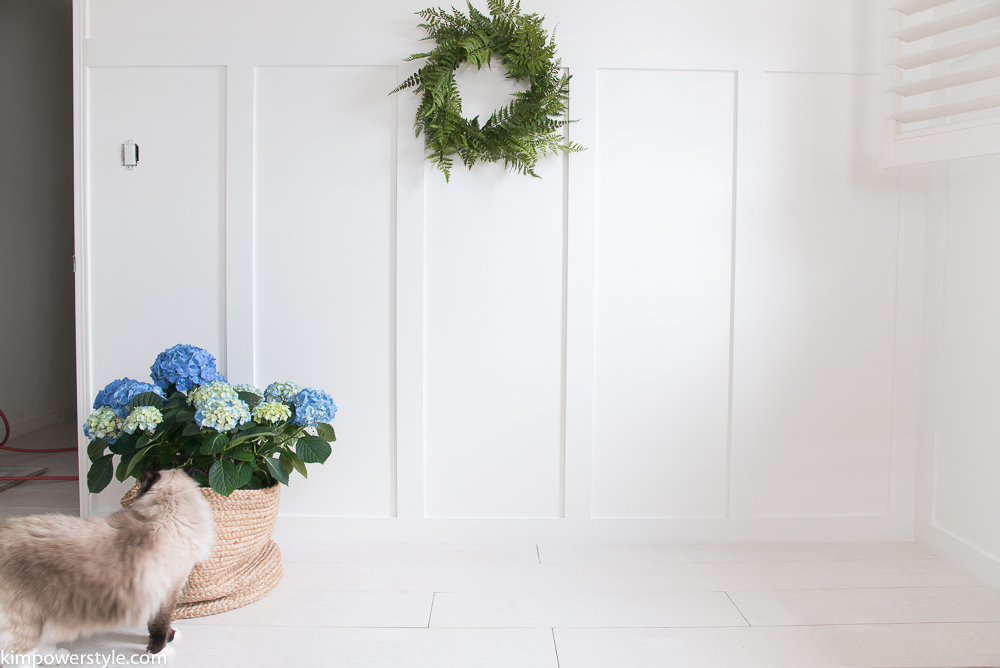
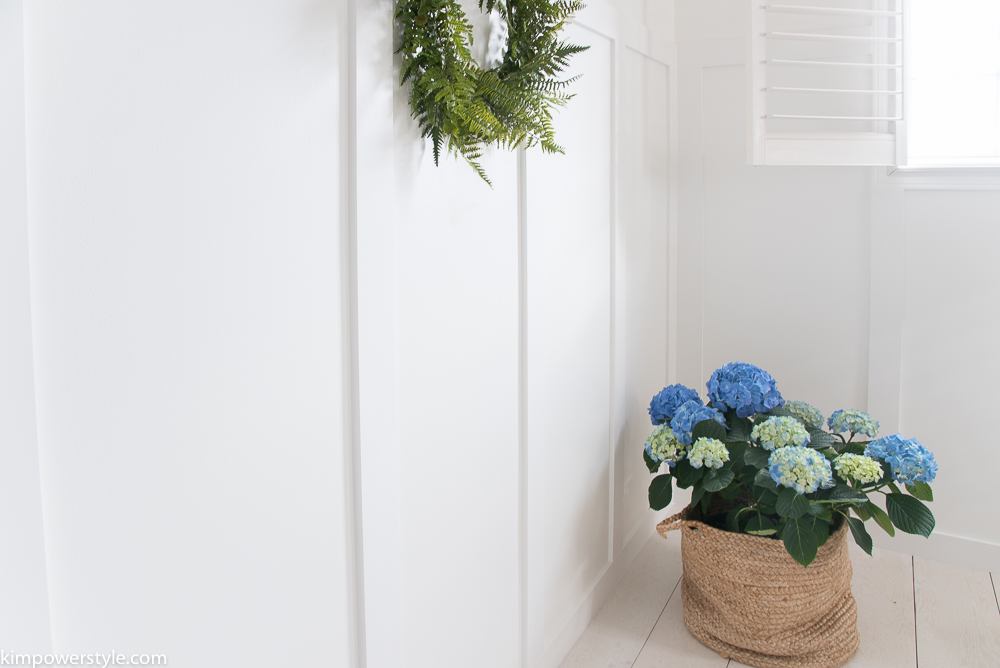
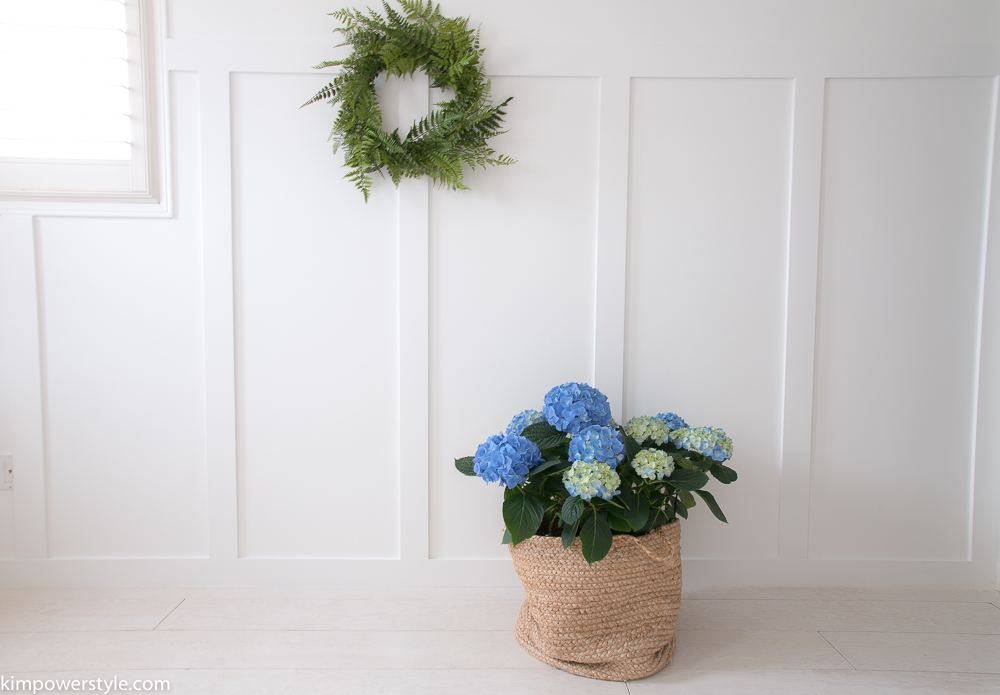
I think it turned out great! It seems to fit this room perfectly and I’m wondering why I didn’t do it before. It brings such character to this little 9×12 space. I think that Jack approves too! I’ve added a bit of greenery to break up the white a bit so you have a better idea of how the space looks.
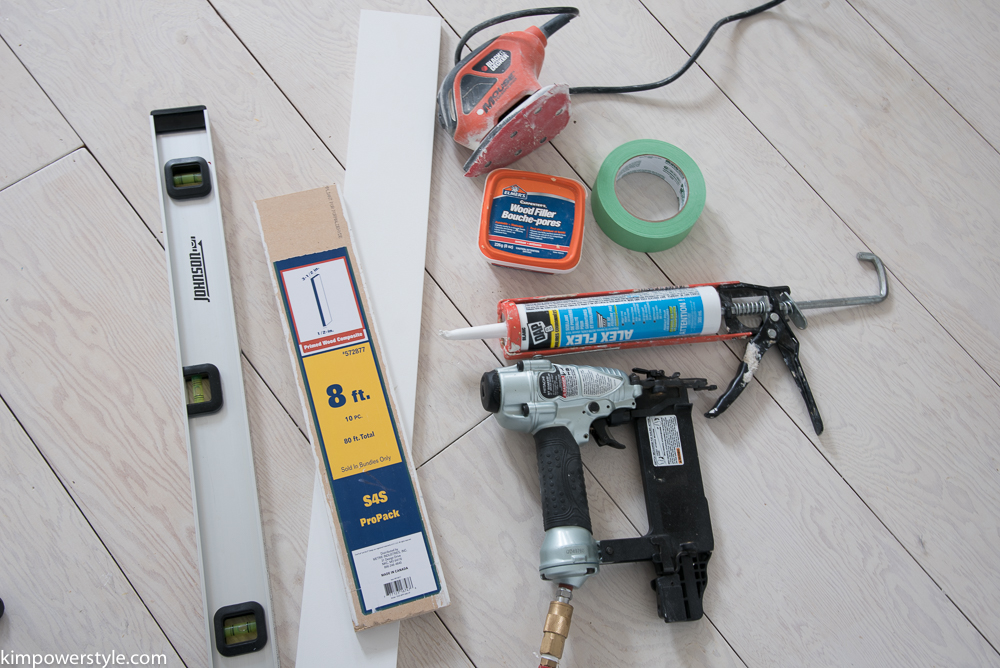
Below are the tools hubby and I used to complete the project:
(This post contains affiliate links, I only share products I know and love)
We used:
- Pre-primed already cut MDF boards that were 3.5″ wide. We removed the old baseboards and used these as not only the boards but for baseboards too. We wanted a totally even and cohesive look with all the seams matching.
- Nail gun with 2″ nails. we didn’t use PL glue on the boards, although you can if you’d like. We just nailed every couple of feet and didn’t even worry about hitting studs as each piece is fairly lightweight on it’s own.
- We used a level to make sure each board was straight, so important as your own eye can fool you! You can also use a laser level to level your top boards. We have one, but it was lost in the abyss that is our garage so we did without it.
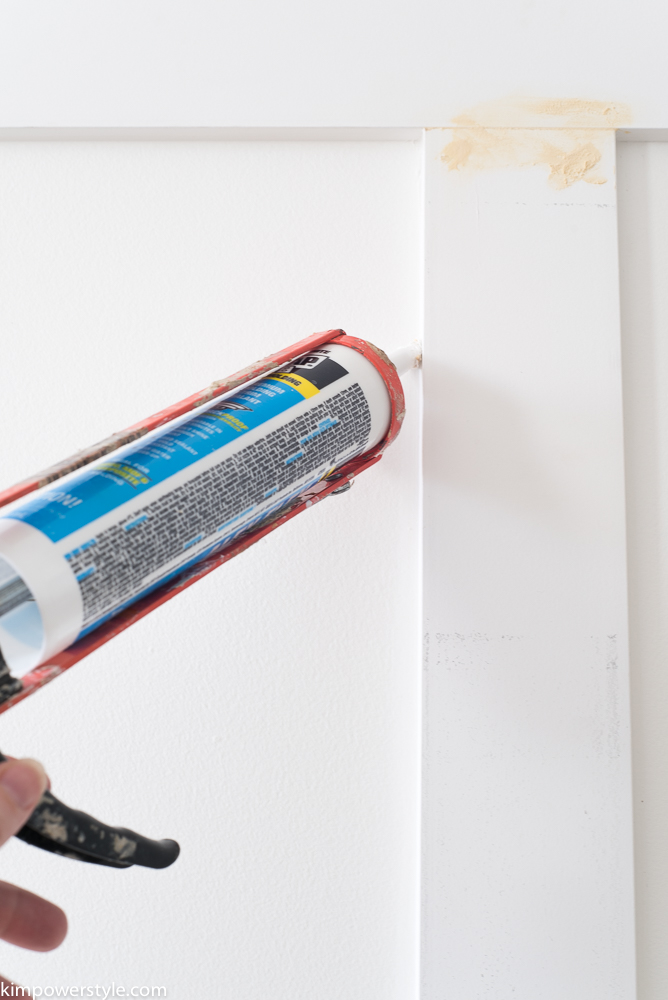
- Caulking, to caulk all the seams, I even do the bottom where the baseboards meet the floor. I think the attention to finishing details can make the difference between a “diy” and a “professional” look.
- We used wood filler to fill in all the nail holes and the seams.
- A sander to sand all the wood filler off. I love my B & D mouse sander. This fella has seen a lot of action!
- Painter’s tape. I use this when I am painting the baseboards to avoid getting any paint on the floor.
- Lastly, you’ll need the paint of your choice.
The only difficult part of this application was figuring out the math! Our walls were all different widths so the width between boards on one wall may be different than the widths between boards on another. We did the math calculations and stood the boards against the walls to test out what would look best. Once you’ve figured out the spacing and marked where your boards will go, the project moves on fairly quickly. We placed and nailed the baseboards down first then we put up our vertical boards and left the top horizontal ones till the last. While my husband was nailing in the boards, I was right behind him applying the caulking and wood filler, so we were a quick efficient team. As with every project, always measure twice and cut once!

Once again, I’m so happy with how this project turned out. If this is something you’ve been thinking about doing, I would say do it! It’s a small amount of work for a huge impact and would make a great weekend project. Thanks for joining me for week two, stay tuned for week 3 as it only gets better from here. We’ve got some great projects planned. You can follow along on Instagram too as I tend to share there first. To receive our blog posts as soon as they’re posted hit the subscribe button and they will be sent straight to your inbox! And don’t forget to go visit all the other participants too, you can find them here.
Blessings,
Kim
What a lovely backdrop for what is to come. I love board and batten. It’s so classic and timeless. Beautiful beginnings!
Thanks so much Leslie!
I LOVE when people complete a “I can’t believe I didn’t do this sooner?!” project. I’m glad you got to do yours this week! Looks great, obvi
Thank you Ariel, It was definitely one of those moments! 🙂
Nice work Kim! I totally agree board and batten is an easy and quick way to make a big impact on your home. Can’t wait to see more!
Thanks Andrea!
Those boards looks amazing in the space! It will look so great with the rest of your design plan; can’t wait to see!
Thank you kate! Looking forward to seeing the plans come together too!
oooh the board and batten looks perfect!!!
Thanks so much Cassie!
Kim,
The addition of the board and batten made this room so light and ethereal. I can already visualize that gorgeous blue rug in the middle of all that white. Beautiful!
Nancy
Thanks Nancy, it has made such a difference! I’ve already tried the rug and it really anchors the room. Can’t wait to see it come together myself!
Kim, I’m loving your progress and the board and batten! To be honest I’ve always wanted to do board and batten but just don’t think I could do it on my own. However, you’re inspiring me! XOXO, Sarah
Thanks Sarah! Be inspired, you can do it my friend. Just getting through the math and where everything is to go is the hardest part.
It’s so bright! It’s going to be lovely!!! xo
Thanks so much Shannon, I appreciate your saying so!
I love board and batten but have never done it myself. It looks ahhhmazing!!!
Thanks so much Sarah! My hubby and I were so impressed with how it just changed the whole room with a few boards!
It turned out beautifully! I’ve always wanted to add it somewhere in my home!
Thank you Ruthie, It’m my first time and now I’m thinking of where I can put it next!
It turned out beautifully!
Thanks so much Christina!
This turned out great! I’ve been thinking of doing this in our kitchen, and this was just the push that I needed. I keep picturing the Pyne Hollyhock Schumacher wallpaper (that beautiful floral blue and white) with board and batten, and seeing those blue hydrangeas styled with your board and batten really makes me want to do it all this weekend!
Thanks so much! Yes go for it! I’m actually doing a treatment above the board and batten that may involve blue and white on week 4. Believe me, I would have gotten that Schumacher wallpaper if I could have. 🙂
I agree that it turned out great! And I am using the same pendant light in my ORC! 🙂
Thank you! Oh and isn’t that light amazing? Can’t wait to see it up. We’ve got great taste! 😉
It turned out really lovely! And your photography is beautiful 🙂
Thanks so much, I appreciate that!
It looks great — and I’m a huge fan of board and batten. We installed it in our bath/laundry space, and I love how it just elevates the room in terms of quality.
Thank you! It’s my first time doing the board and batten and I agree, it makes such a statement in a room!
Looking so beautiful Kim! I love that you add style as you are still in construction mode, my kinda girl! xo PS that wreath, I may be swooning!
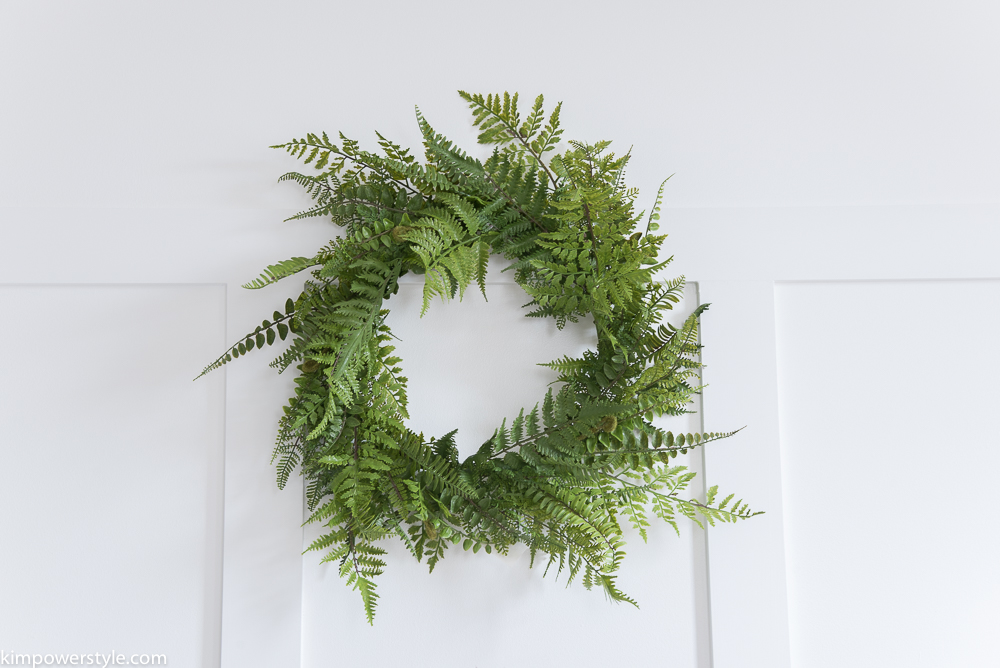
Aww thank you Laurie! Haha, I had to add something otherwise i felt it would’ve been difficult to see just what I did in my sea of white! Yes, the wreath is perfect isn’t it?
Kim, it looks great! I love the board and batten!
Thank you Brenna, I love it too!
Such a great choice!! It looks beautiful! I’m definitely saving this idea for my home!
Love the board and batten! Isn’t it amazing how a bit of wood can transform a space?
Thank you Emy, Yes! Can’t get over the changes our little pieces of wood have made in this room! It’s totally transformed the look and added so much character.
We did similar board and batten! Love it! I almost bought that blue rug too- great minds think alike!
Thanks Colette! Yes, great minds do think alike! 🙂
LOVE LOVE LOVE the board and batten! This is going to be such a beautiful, inspiring space.
Thanks Amanda, the board and batten has made such a difference, I’m thrilled with it!
This looks amazing! I really want to add some board and batten to our house now!
Thanks Casey, I’m thinking about doing it in the guest room now!
Your board and batten came out so pretty!
Thanks Jessica, I think so too! 🙂