Hello everyone! It’s Friday!!!
Have a great weekend everyone!
by kim 30 Comments
Hello everyone! It’s Friday!!!
Have a great weekend everyone!
by kim 27 Comments
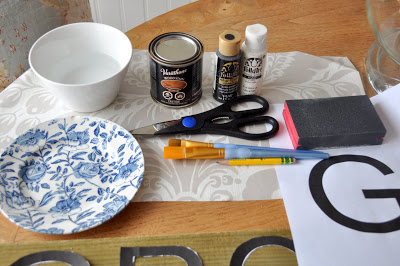
For this project I used some acrylic paint in white and black, some verathane stain I had left over from my breakfast nook table, a sanding block, paint brushes, scissors, pencil, a bowl of water, and old saucer to mix my paints, and the lettering that I got form my word program.
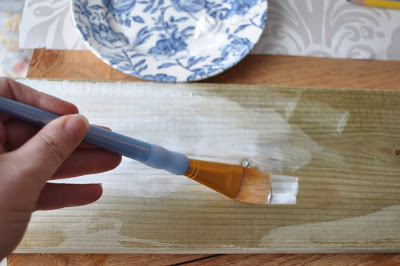
I started by painting my board with the white paint, I mixed the paint with water to give the board a color wash. You can add more color/water as you need. I just wanted the wood to look a little aged but you could certainly make it more opaque.
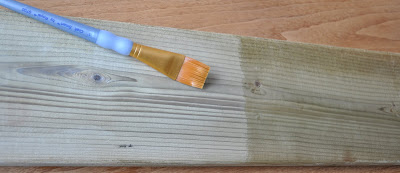
You can see the difference here between the color wash and the original board.
While the board was drying I picked out my font and size for the lettering, printed them out and then cut them out. (originally I thought I could find some stencils and stencil the letters on but they were limited in size and font and were too expensive. It may have been a little less time consuming but you have more options by printing the letters out yourself and much cheaper!)
(Since posting this I’ve received a really good tip! Instead of doing all the cutting, use a ball point pen and trace over the letters with a bit of pressure. You could also use tracing paper! Who knew? apparently some of you and not me! lol)
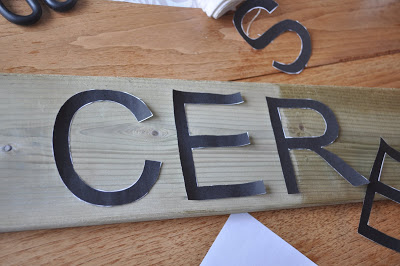
Once they are all cut out, I placed and spaced them evenly.
I then took a pencil and traced each one out. I thought that this would be difficult considering the paper was so thin and flimsy but it was quite easy using both hands and it took me about ten minutes to trace them all out.
After they are all traced out. I painted them. I mixed a little of the white and black together for a more charcoal color so it would look a little more aged as opposed to stark black. Here again you can you can use so many different colors, mixes etc. to get the look you want.
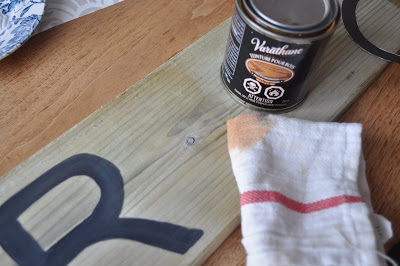
After all the letters were dry, I used a little bit of my stain to add a little more aging, texture etc. I used an old cloth and just added it randomly, wiping most of it off.
(Marian at MMS has a great glaze/stain that she uses and I think I will try that one next time. She mentions how some glaze/stain can look like a bronzer and orangey, my stain did this slightly but I was able to work it in well.)
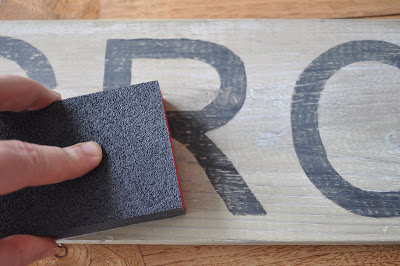
Once the stain is dry you can begin to sand and distress your board. This is the fun part as it really adds that aged look to your sign.
( I’d like to add that at this point if you feel you need to you can add more paint, stain etc. I added a little of my gray water left in the bowl from mixing to do a soft wash over some places that were unever and it just added to the rustic look of it).
Isn’t it great! We’ll have to ask Robin how she did it. I love it!
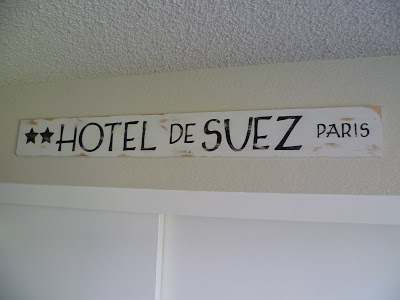 Ali at My Third True Love is a new follower of mine and while visiting her blog I seen this. This is her first sign too!
Last but certainly not least is Lori from Frugal Farmhouse Design. Her sign was also inspiration for my GROCERIES sign. Lori does awesome work on very tight budgets!
Hope this has helped to inspire you to start creating and restoring!
Be blessed and thanks for visiting!
by kim 53 Comments

I’ve seen signs like this around blogland and from fleamarket style’s header
in particular. I’ve wanted to make one for a while now and finally took the plunge. There’s no stopping me now. I’ve got big plans for other signs!
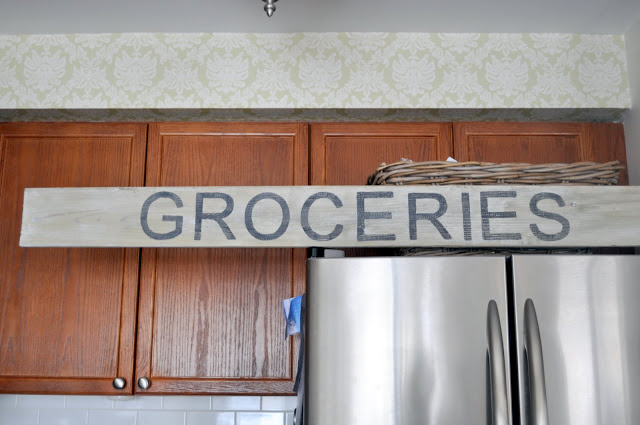
I was thinking of placing it above the cupboards here. The wallpaper will eventually be removed and…I’m going to start painting my cupboards in the spring. A big job and I’m hoping the whole family will get involved!
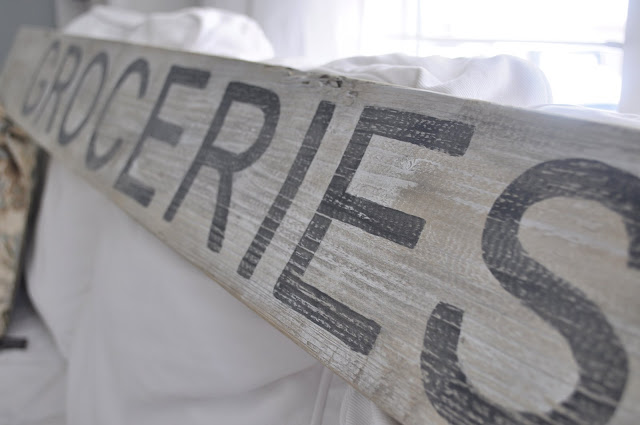
This is a close up of the sign, you can see where I distressed it to make it look a little more vintage.
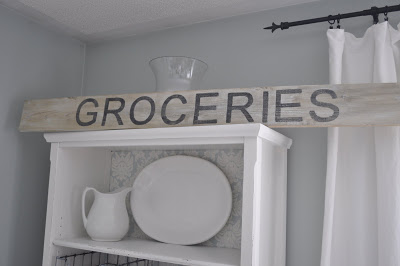
Here is the other bookcase just finished.
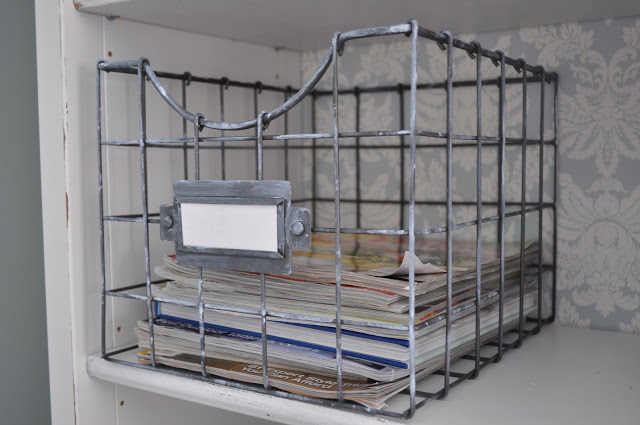
I got these little wire baskets from homesense and added a little bit of paint to anitque them a bit.
They’re great for holding magazines.
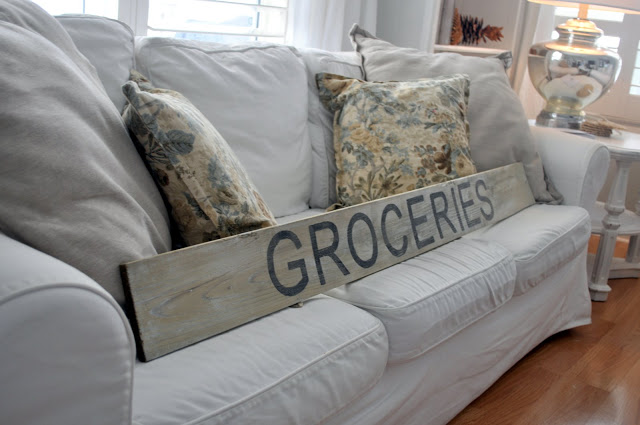
Here is my sign again on the sofa.(Can you tell I like this sign? I just carry it around the house with me! Lol)
I’ve got some ideas for other signs and will keep you posted.
Blessings on you all and thanks for stopping by!
I’ll be partying with these ladies this week.
Between naps on the porch, Metamorphosis Monday
Coastal Charm, Nifty thrifty tuesdays
House of Grace, Twice owned Tuesday
Domestically Speaking, Power of Paint Party
A Beach Cottage, Good life Wesnesdays
The Shabby chic cottage, Transformation thursdays
My Romantic Home, Show and tell Friday
The Shabby Nest, Frugal Friday
Funky Junk Interiors, Sat nite Special
Under the table and dreaming, Sunday showcase party
by kim 3 Comments
Thanks everyone for participating in my first giveaway, it was a lot of fun.
by kim 43 Comments
If you are a follower, please leave me a comment telling me so to enter my giveaway that ends Friday night!
I’ve been thinking about getting a headboard , well probably making my own. I’ve been tossed between making one and slipcovering it in…well…white of course or maybe adding a little vintage wood. I love all those vintage ones out there made of gates and fences etc. but where would I find one of those at a reasonable price?
A few months ago our Pastor told us that the fire marshall had come in and our church that was built in 1899 would have to get our old 112 year old vintage doors replaced with new fire doors!
To make a long story short, I got to take one of those lovely doors home. Here was the headboard I’ve been looking for!
My husband, daughter and I spent an hour or so hanging this baby, It weighs about 150 lbs.!
It came painted in white. Not sure what kind of wood is underneath but it is solid.
Well here she is! ( I always genderize my new finds!)
In these pics I was going for that lovely unmade bed look but didn’t really achieve it. But you get the idea!
Yes, I know, I also need a new bedskirt and nightstands, that’s in the project book.
Here is the top end of the door. You can see some of the 2×4 that is helping to support it, this will be painted out…eventually! lol
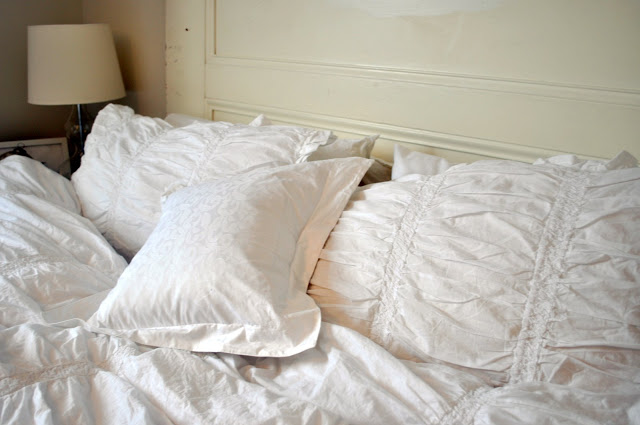
(I do add some colour and pattern to my bed by way of throw pillows, just not in these pics!)
I was thinking of adding some trim at the top maybe giving it a little ledge with molding.
I was also thinking about giving it a good paint job and maybe adding some contrast with another color/glaze.
I’m actually afraid to distress it due to the fact that there is old paint on it and most old paint was made with lead!
Still not sure what to do with her but I think she needs a little something.
Thanks for stopping by and don’t forget to enter the giveaway!
I’ll be partying with|:
by kim 96 Comments
This is my first giveaway to celebrate my 300 Followers! Wow! that is still shocking to me.
I remember when I started my blog a few months ago, getting from 1-10 took sooo long. I wondered if I should just quit, was anyone even reading?
My daughter Hope posted this little verse from Job on the chalkboard, I grabbed it and held on!
So, just to say…
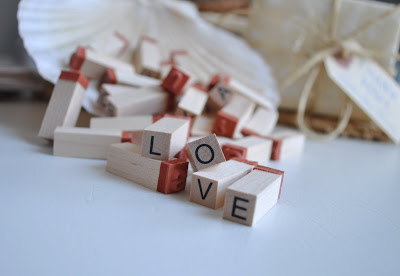
I’m offering up a few little things from Michael’s craft store. Nothing fancy here, but It is something I really enjoy using and I thought you might too.
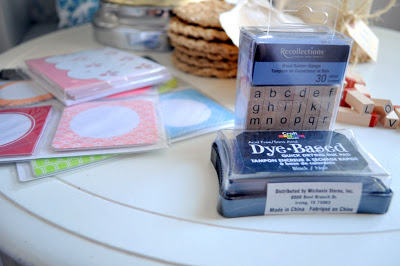
You’ll get these little alphabet rubber stamps, an ink pad, some label stickers, as well as a little pack of notes.
I told you, nothing fancy, just a little token of my appreciation.
You have two chances to win:
1. Be a follower and leave a comment letting me know that you are a follower.
2. Post this giveaway on your blog, facebook or twitter and leave a separate comment letting me know.
This giveaway will close Friday the 21st at 9pm EST
Blessings and thanks for allowing me to share with you all!
by kim 80 Comments
Isn’t it pretty?
You can see here from an earlier post that I had my round mirror hanging in that corner. Because there is a heat vent behind the sofa, the sofa needs to come away from the wall about a foot. This leaves a bit of dead space on either side of the sofa/window that needed to be filled with something!
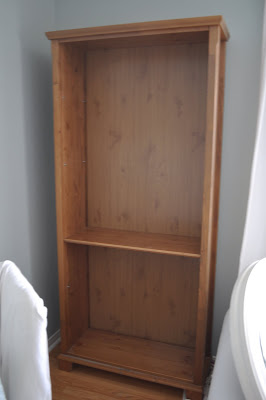
This is what the bookself looked like before paint. I actually like this colour of stain but I find it hard to leave things unpainted!
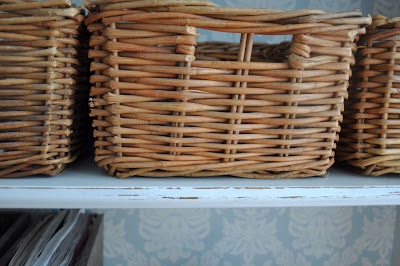
After painting, I gave a light sanding to add a little distressed look. With the pretty wallpaper I didn’t want the bookshelf to look too ” precious”.
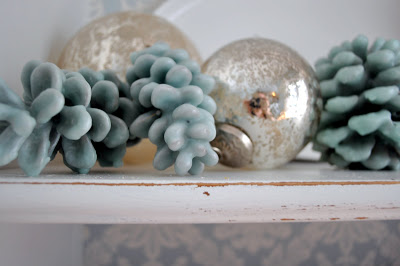
Yes I know, my blue pinecones again, but they smell so pretty and and are so lovely to look at!
I’ve also added some of my beadspreads to the bottom shelves. The colours work so well and it’s always nice to have some warm blankets on these cold winter nights.
by kim 12 Comments
I’ve primed and painted and now I have to choose…
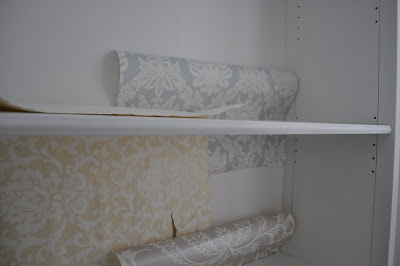
Here is an even bigger peek!
(Please ignore my teeny shade on the big lamp, I’m still searching for the right shade.)
by kim 17 Comments
I found these little coasters for 1.99 at value village. Love em, they are very coastal don’t you think?
Along with a bag of these shells.

One of my weaknesses are clear glass vases. I’ve become a little more selective lately, due to the fact that I have one on every flat surface in my home, and only choose ones with a good heavy glass and unique shapes. This one is about 18 inches high and came loaded with shells!
I removed the shells and replaced them with some more wintry themed baubles. (I’m saving the shells for my spring/summer look and can’t wait to take them out!)

There were no nails used on this, it’s put together with wood and looks quite old. Still don’t know what to do with it!
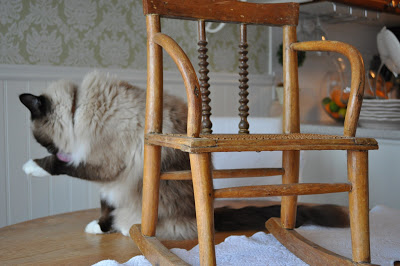
Yes that is my cat on the table! Oh my Aunt would drop dead if she seen this! The animals just love when I’m fussing about taking pics and whatnot. He is also being used as a prop to give you an idea of the size of this chair. I just love it!
by kim 61 Comments
This is what it looked like before:

The stool is for Butters to use as a little step to get up on the sofa. Sometimes Butters slips on the floors when he trys to jump up on the sofa so he cries for us to lift him up. Now he has the freedom to get up on the sofa all by himself.
Here he is with his blanket and “bear” which he dragged up via the stool.